This is a view of all the rooms listed in your company.
Once Duve is connected to your PMS or Channel Manager, the rooms will push into Duve and update automatically.
Note: If there are no future reservations for a new room in the PMS or Channel Manager, the room will not show in Duve until there is a new reservation made.
| Rooms Page (Hotel Setting) |
 |
How to Set it Up?
On the main page, there are 2 sections, "Active" and "Inactive".
Active shows the rooms/rentals that have an active connection and are receiving reservations.
Inactive shows the rooms/rentals that are not being used, should not be receiving reservations, and should not have a connection.
Note: A room/rental cannot be deleted, it can only be made inactive.
Each column you see has a search bar associated with it, for easy searching of rooms/rentals by various details. You can add more columns and also hide columns using the 3 bar navigation icon located in the top right. Select the check boxes of the field columns you would like to view. Deselect/uncheck the box with the fields you want to hide.

To view the page for a specific room/rental, click on it, and a new page will open containing all the details of the room/rental.
Information
Information such as Room Name, Room Number and Accomodation Type can be synced from your Room Setup in your PMS. This information is synced once, but can be manually overwritten.
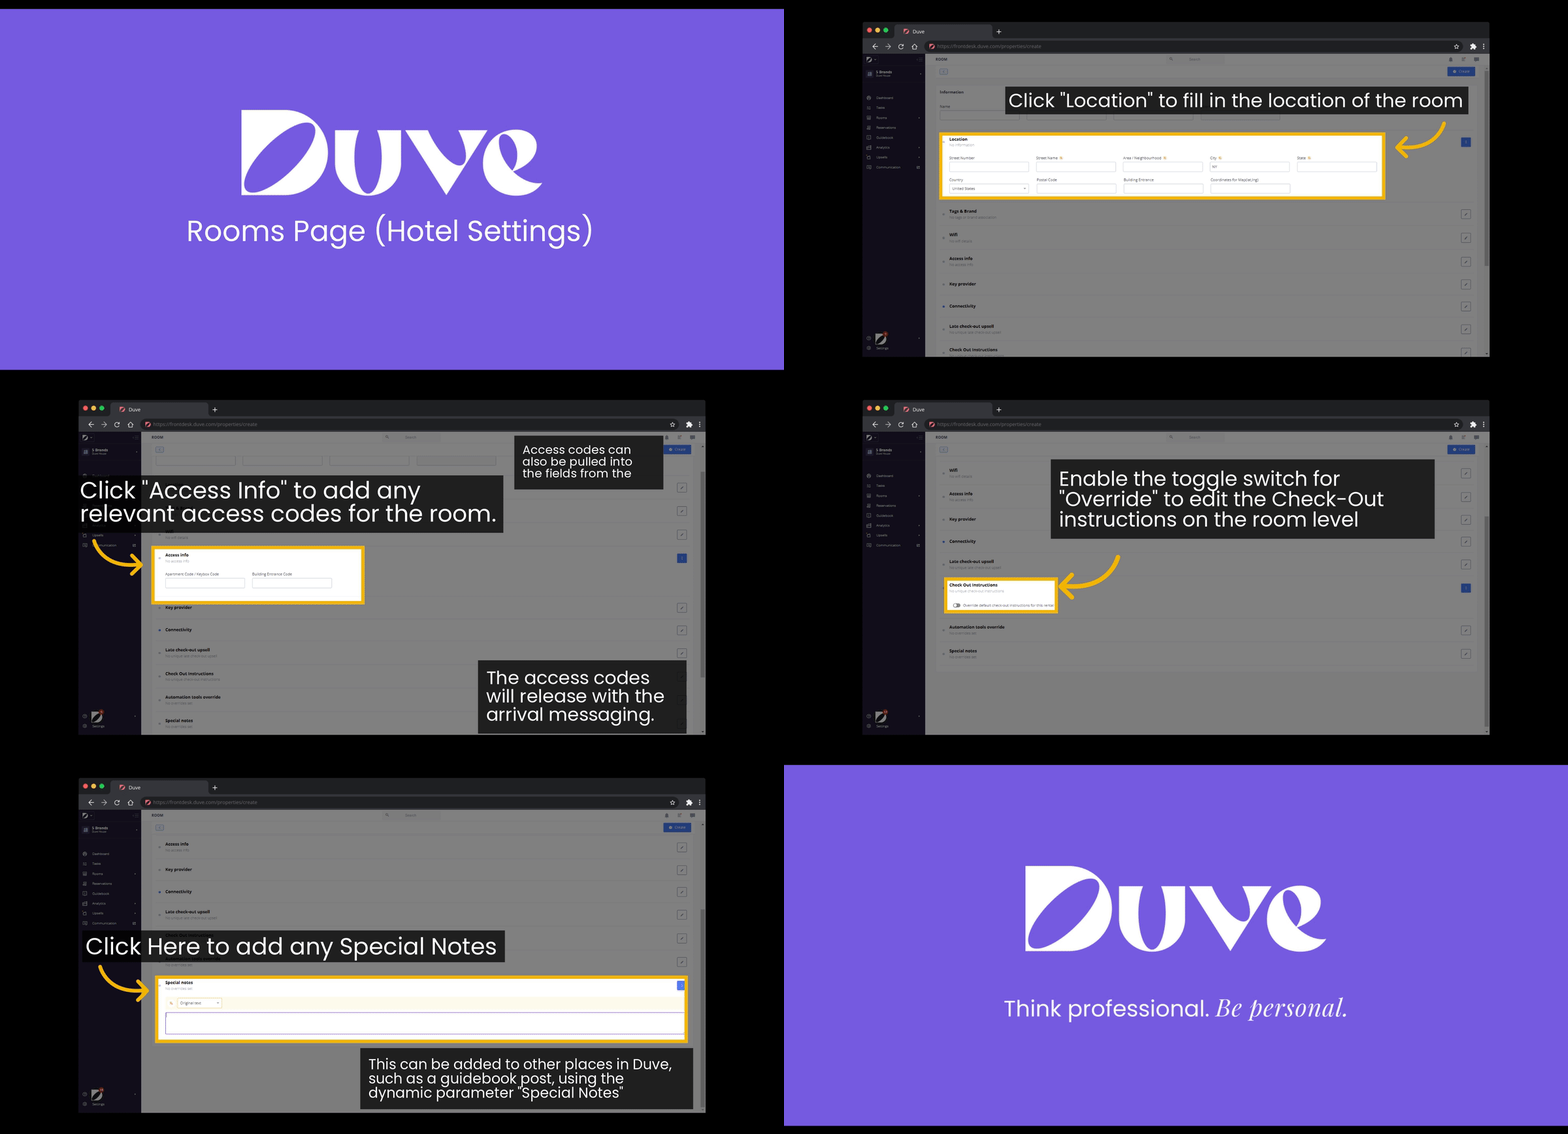
Location

Location is very important to be included, especially for rentals. Include address and map coordinates in order to use transportation upsell.
Tags & Brand

A host can "tag" different properties – these are relevant for categorizing properties for security deposits, upsells and guidebook posts by a tag.
A host that has multiple brands under their account can add the specific brand to the property. This will help in other features where you can filter by brand, and associate guidebook posts, upsells, pre scheduled messages and more to only rooms/rentals within that specific brand.
WiFi
The room/rental specific wifi details added in this section will be shown to the guest in the arrival email as well as in the Guest Area.
Access Info
If the room/rental or building has an access code, it can be entered manually or will either be pulled directly from a supported PMS. The access codes will be release with the arrival email and will be able to be accessed through the Guest App.
Connectivity
The External ID is a unique ID for the specific room/rental. All active rooms should have their external ID, which should correspond to the external ID in the PMS. Here you can find Duve’s iCal link of the rental which can be placed on multiple booking websites to sync the rental occupancy from Duve in real time (syncs approx. every 10 minutes).

Check-In Options
In each room/rental, you can customize the check-in options. For example, if you have three rentals that require three different check-in options as Rental check-in, Office check-in, and Self check-in, you can override and select only the option that is relevant for the rental. To override the settings for Check-In Options per room/rental, enable the toggle switch for ‘Override default options’, then enable the relevant check-in options or add a new option for the room/rental.
You can also customize the Smart Early Check-In options in this section. Enable the relevant check-in options or add a new option for the room/rental.
Remember to click translate and then save when you are done!


Late check-out Upsell
In each room/rental you can customize the late check-out upsell timing and pricings. Enable the toggle switch for "Override the late check-out upsell default pricing" and select "Add new time frame" to create a new time frame and pricing of the Late Check-Out upsell for this room/rental. It will only be shown to reservations on this room/rental and will not affect the main default settings.

Check-Out Instructions
To add a new check-out instruction unique to this room/rental, enable the toggle switch for "Override default check-out instructions for this rental". Select "Add new" to begin creating the new unique check-out instruction. If you would like to remove an instruction for the room/rental simply click the trash bin icon and save and it will remove it only from this room/rental.
Remember to click translate when you are done!

Automation tools override
This menu is here to help you to override the automation tools for the room/rental. You can do that here by enabling or disabling the toggle switches, which will override the main default settings set for the account.

Special Notes
Any special notes about the room/rental can be added in the text box here. The Special Notes can then be used as a dynamic parameter in the E-Signature page, on a Guidebook post or in the Arrival email. Remember to click translate when you are finished editing!


Comments
0 comments
Please sign in to leave a comment.