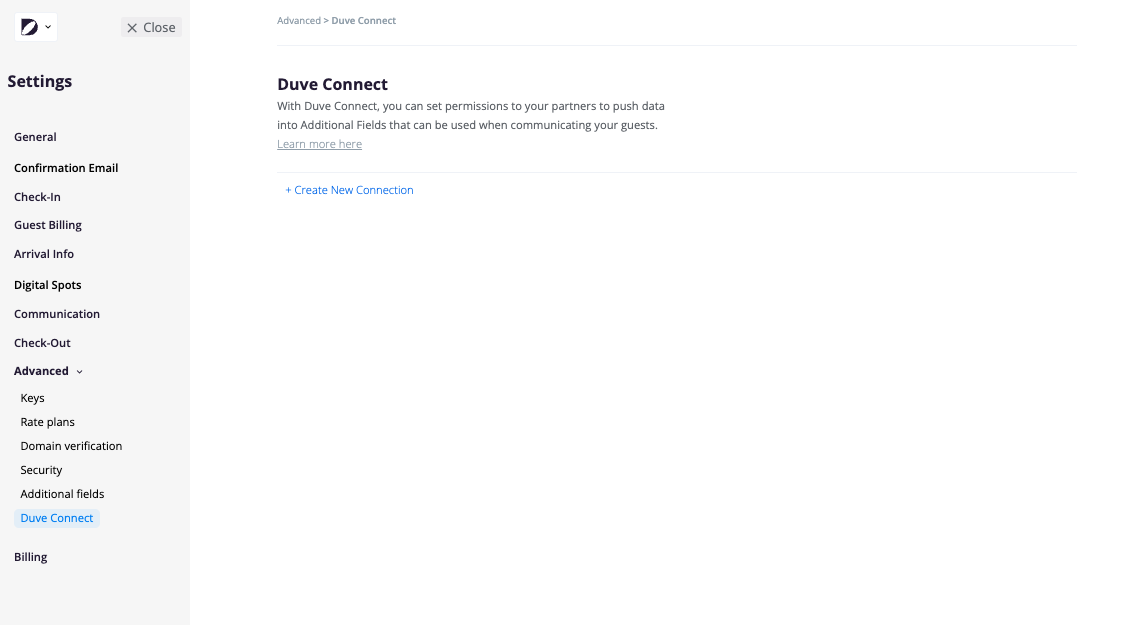
DuveConnect allows our customers to connect to your external systems to seamlessly exchange data.
DuveConnect is an add-on feature that will be available upon request and at an additional monthly cost of $0.50 per unit with a monthly minimum of 50 eur required. For more information contact our Support Team or your dedicated Customer Success Manager.
DuveConnect is an add-on feature that will be available upon request and at an additional monthly cost of $0.50 per unit with a monthly minimum of 50 eur required. For more information contact our Support Team or your dedicated Customer Success Manager.
How it works: The third-party needs to connect to Duve's API using the provided code add-on, and then input the access token so that Duve has authorization to push and receive information from the app. Once all these steps are completed, hosts can use the dynamic field throughout the guest journey, including in the guest app, online check-in, communications, and check-out.
In order to properly complete the DuveConnect setup, the following setups must be completed first:
- Set up your Outgoing API Calls to set up data sync from Duve to your third party
- Set up your Additional Fields to utilize data from the third party in Duve
- Set up an incoming API Calls via DuveConnect from your third party (setup steps below)
In order to start your setup, please check that the following requirements are set up properly:
- Outgoing Setup (Webhooks): The reservation ID data point must be included in the webhooks you have set up to send to the third party supplier

- Set up your desired Additional Field to utilize data from your third party
For the Setup in Duve
To begin, go to Settings > Connections > DuveConnect 
Click 'Create New Connection' and add the name and 'Scope' (Additional field) to which the third party supplier should send data to:

1. Name the connection and write a description (optional)
2. Under Scope, select the fields you would like to populate via the third party
- Reservation Details - can populate either Primary or Secondary Access code
- Additional Fields
- Order Details - specifically used for updating tasks status
3. Click 'Create' to continue. The page will direct to the Configuration page.
At this point, you must give the following information to your third party supplier, so they can complete the Setup on their end
- Click Show and copy the access token
- Copy the Code Example at the bottom of the page
- Authorization: Bearer <ACCESS_TOKEN> - needs to be replaced in the code with the access token provided above.
- The Reservation ID field must be populated with the Reservation ID sent in the Webhooks
- Value field should be populated with the information from the third party which is connected via Duve Connect.
This is all the information required to supply to your third party supplier to set up the request to populate the additional fields in Duve.
Please note: If the Scopes are changed or updated, the access token must be updated in the third party's code. There will be a new prompt after updating the connection that the access token must be updated.
Additional Details
In case you would like to replace the access token after creating it, you have 2 options ➝

- Rotate Later - This action generates a new token and the old access token is active up to 7 days from when the access token is
- Rotate Now - This action creates a new token and revokes the old access token
Logs:
The Logs tab will show you the details of the request from your 3rd party supplier to Duve

Status Codes Legend -
200 = Success (Green)
400 = Failed (Red)
Data
Hovering over the data column shows the full request that was sent to Duve

The Logs history will show the previous 30 days ➝

Testing:
If everything is set properly, please do the following
- Create a test reservation
- Complete the action which will trigger the webhook which has been set (ex. Pre Check-in completed)
- Check with the third party provider if they recieved the webhook
- Ask your third party provider to push a request to the additional field included in the scope
- Check the logs in the Duve Connect setup for a Success Message
- Note: This could take a few minutes to populate
- Check the Reservation page in Duve to see the value populate in the Additional fields section

If all is working, DuveConnect setup is complete!

Comments
0 comments
Please sign in to leave a comment.